Monday, October 10, 2011

Baby Shower

My cousin & his wife are pregnant!  Yay!  I went to school with both of them and Tracey and I took many classes together and worked together for quite some time!  I was super excited when I heard they were pregnant!  These are pix from her shower yesterday.

Pom poms hanging from the ceiling. Inexpensive and fun! These are always a hit!

The sign across the mantle "It's a Boy"  They had an animal theme so we threw as many animals as we could in there! This sign was made using Create a Criter for then animals, Accent Essentials for the circles and sun bursts for the signs and Disney's Mickey's font for the letters!

A zebra and kitty welcomed people in!


These beautiful flowers were a wonderful touch! 

so pretty!  

Gift area


A few critters on the wall.

Cake pop favors

Wedding favor!

My friend just got married yesterday!  Congrats Kathy!!!  She and I have known each other since elementary school but became good friends in high school and have been friends ever since.  I was over joyed when I heard that she got engaged to a wonderful man named Stan. 

When they set their wedding date I was excited!  I wanted to help!  Graciously, Kathy allowed us to help her with her wedding invites and party favors!  This is my party favor indicating the table I sat at.  We used the Cricut to cut the tag and corner rounders on the white pieces to match the tag. The flower opening is from the Hello Kitty cartridge.

For not being a paper crafter, Kathy did an awesome job of designing the pattern on the white paper and thinking of these wonderful ideas!  Look out, I might be calling her in the future for digital artwork!  


Wednesday, July 27, 2011

Ladybug Cakepops!

My co-worker is having another baby. She's due in September but we threw her shower really really early! My boss was super excited about this shower since this co-worker of mine is like her go-to-women. She is also my back up buddy when I leave, am sick, or go on vacation.  I was excited when I heard the theme of the shower was black white and red. I was thinking, hmm...what's black white & red? Ladybugs!!! She choose ladybugs and panda bears as her theme.

We had a small crew of about 5 people who officially responded to help with the party. Of course my co-workers are great people and couldn't help but lend a hand when they saw us preparing!

We made red rose pens, candy on sticks in jelly jars with crystals in the bottom. These were centered on white doilies on top of red table cloths with a lady bug fabric table runner.
 This is the center piece. I think balloons make parties so fun!!!loved it!
The food theme was snacks, finger foods, desserts.  These are my ladybug cupcakes on the cupcake tower.

Ladybug cake pops!

Close up of ladybug cake pops!

This is the baby's signs. 

Party game prizes. 

Overall it was a successful party!  The momma to be got a lot of really nice stuff and had a great time. I can't wait to meet the baby!

Monday, June 27, 2011

YourStory Rotary Cutter

I found the YourStory from ProvoCraft online on sale for 20 dollars!!! What a deal!!! I had to buy it! It actually came in a bundle with the laminating pouches, binders and this HUGE bonus!!!  As I was opening the package (Provo always does a nice job of packaging), I noticed this board on the bottom of the box. As I dug deeper, there it was!  A rotary cutter!!! I've been wanting one of these but just couldn't justify it since we have little room for more craft stuff and they can be so expensive! I will post about the YourStory once I use it.

Here it is, the Rotary cutter, 3 interchangeable blades! Beautiful design and numbers to mark where to cut! 

This is where the blade is housed.  If you lift the blue pieces up, you can easy take out the blade that's in there and replace it with any of the other 3 blades that came with it. 

Here's a close up of the three blades. One scores with dotted lines, one makes a nice wavy edge and the last is a straight cut just like the one that is in the cutter when you get it (I'm saving this one as a back up.) The cool thing about rotary cutters is that the blades roll down the paper to create the cut so you can have these excellent designs like waves or dotted lines!
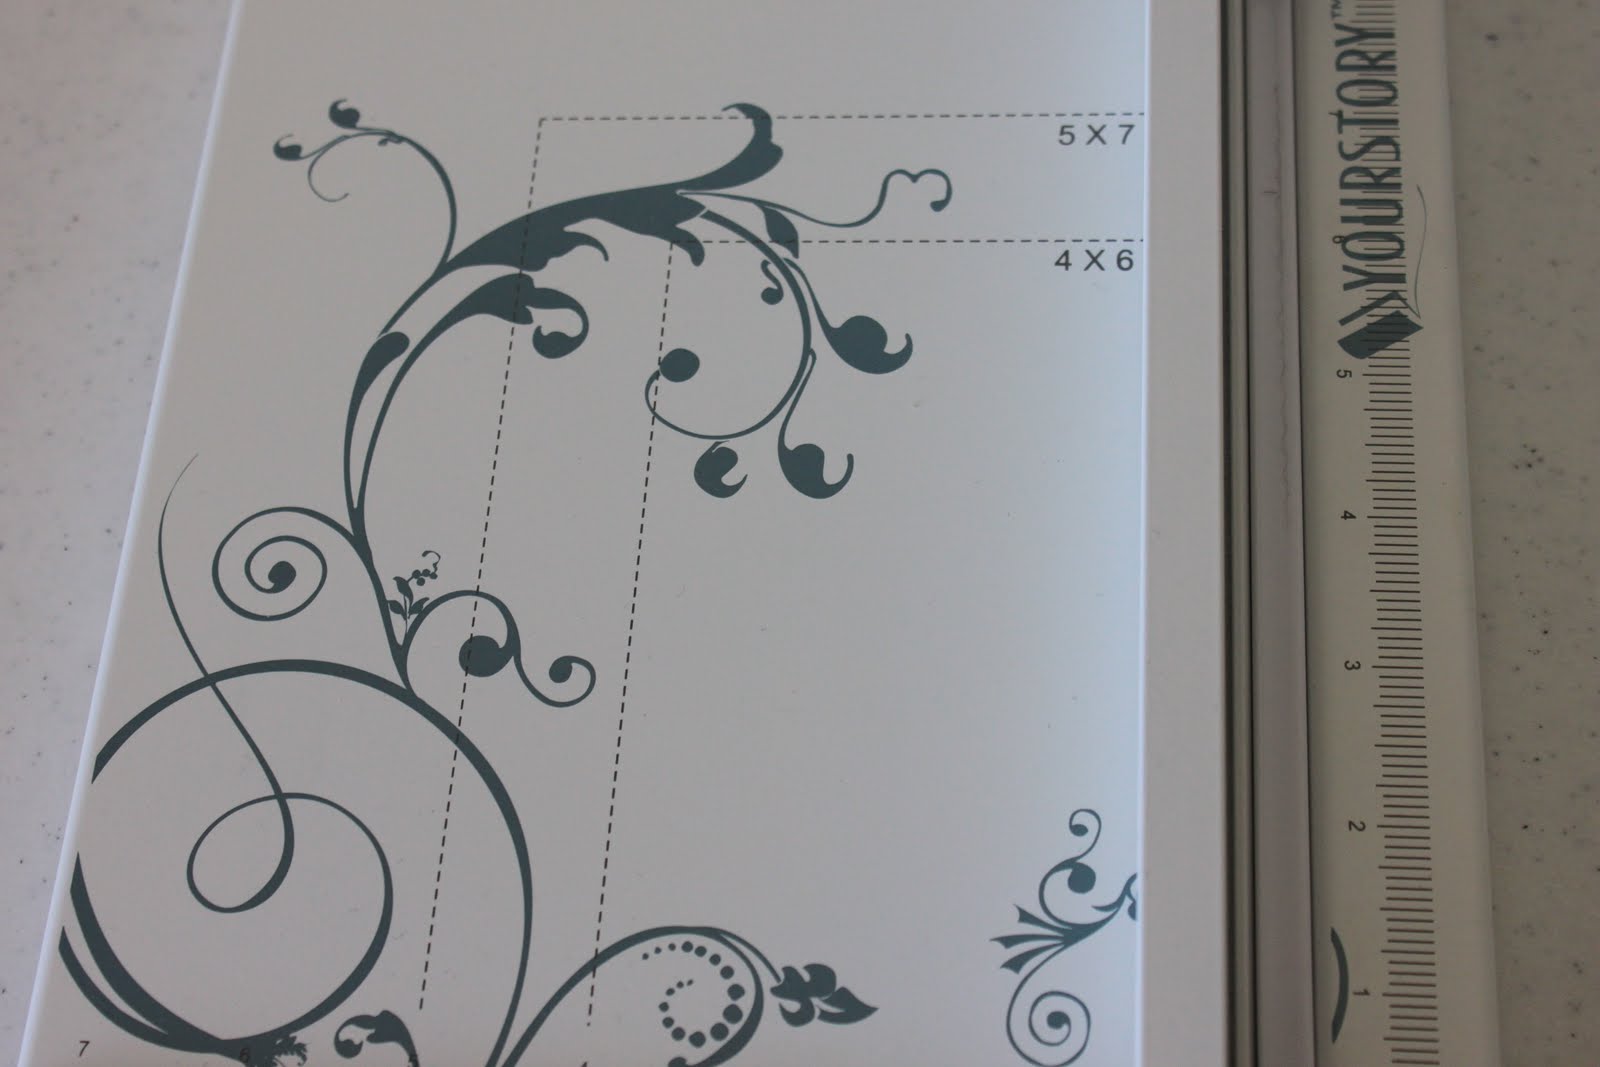
You will also see there are numbers to help you know where to cut the paper!

Towards the bottom you have this beautiful design and also markers showing you where to cut a 5x7 or 4x6 photo. 

Here's the straight edge cut, very clean and easy to do!

Simply lift the piece with the cutter, insert the paper, close the cutter on top of the paper, and slice!

Make sure to press down on the cutter so that it cuts through the paper.


I cut this with the scoring blade. You can see the small dotted line.

This is the wavy edge blade. Nice and even, super easy and fast!

I'm so excited about this! I can see it saving me lots of time!
See ya soon!  It's time for me to Create like Crazy!

Baby Finley!

My cousin in law Tracey is pregnant with her first baby!  I am so excited for Mark & Tracey! We found out a few months ago and ever since Jenn & I have been excited to throw this baby shower for Finley! 
Even though the shower is not until the end of the year, I couldn't resist making a sign!!!

F is for fish!

I is for Iguana!

N is for narwhal.  
This letter is tough unless you go with Nanny Goat or something. Amazingly Cricut thinks of everything and sure enough there was an animal on Zoobaloo for N! :) This letter is pushing me to write the name of the animal on the sign somewhere just so they know what it is!

L is for Lion! grrrr

E is for Elephant! (Go Titans!!!)


Y is for Yak!

These were made using Accent Essentials for the sun burst, Disney Font for the letters, Zoobaloo and Create a Critter for the animals.
So go out there and Create like Crazy!!!

crafty day!

Michelle & I had another crafting session!  We were so productive!  Here are the 3 cards we made together :) 

Michelle made this one with the mermaid.  Mermaid is from Life's a Beach. She added little crystals on the shiny shell paper to give it that extra "pop!"

The mermaid seashell bikini top is sequence! So creative!!! The background is embossed with swirls on shiny green paper!

Owl & branch are from Create a Critter (my all time favorite cartridge!) 3 jewels on the side because I couldn't resist and you know me, I love the bling! Wording to be stamped on the right of the owl. 

Very basic Hippo card. Hippo and water is from Create a Critter! This will most likely turn into a bday card!  :) 

Sunday, June 12, 2011

Interchangeable stamp!!!

I found these stamps online and it said it was interchangeable! I couldn't believe it so I had to order it!  You need the PSA stamper with ink (far right), the stamp positioner (far left) and the stamps (I bought the Helllo Kitty set and a set with sayings).  The ink pad is built into the Stamp base and can be changed out to be different colors, or even dual colored! 

Each stamp pack comes with one outside edge stamp and 9 designed stamps for the center. 
Below I have positioned the star outside edge stamp on the stamping positioner. 


Then I placed in the stamp center. 

This is the bottom where the stamp will attach to the stamper.

Position the stamper over the stamping positioner.


Push the stamper down.

 Now the stamp is attached to the stamper.
This is the finished product! :) Isn't she cute!!!!! I love this stamper so far, I love that it's easy to store and interchangeable! Can't wait to use it for a project!!! 

Don't forget to Create like Crazy!!!