Monday, June 27, 2011

Baby Finley!

My cousin in law Tracey is pregnant with her first baby!  I am so excited for Mark & Tracey! We found out a few months ago and ever since Jenn & I have been excited to throw this baby shower for Finley! 
Even though the shower is not until the end of the year, I couldn't resist making a sign!!!

F is for fish!

I is for Iguana!

N is for narwhal.  
This letter is tough unless you go with Nanny Goat or something. Amazingly Cricut thinks of everything and sure enough there was an animal on Zoobaloo for N! :) This letter is pushing me to write the name of the animal on the sign somewhere just so they know what it is!

L is for Lion! grrrr

E is for Elephant! (Go Titans!!!)


Y is for Yak!

These were made using Accent Essentials for the sun burst, Disney Font for the letters, Zoobaloo and Create a Critter for the animals.
So go out there and Create like Crazy!!!

crafty day!

Michelle & I had another crafting session!  We were so productive!  Here are the 3 cards we made together :) 

Michelle made this one with the mermaid.  Mermaid is from Life's a Beach. She added little crystals on the shiny shell paper to give it that extra "pop!"

The mermaid seashell bikini top is sequence! So creative!!! The background is embossed with swirls on shiny green paper!

Owl & branch are from Create a Critter (my all time favorite cartridge!) 3 jewels on the side because I couldn't resist and you know me, I love the bling! Wording to be stamped on the right of the owl. 

Very basic Hippo card. Hippo and water is from Create a Critter! This will most likely turn into a bday card!  :) 

Sunday, June 12, 2011

Interchangeable stamp!!!

I found these stamps online and it said it was interchangeable! I couldn't believe it so I had to order it!  You need the PSA stamper with ink (far right), the stamp positioner (far left) and the stamps (I bought the Helllo Kitty set and a set with sayings).  The ink pad is built into the Stamp base and can be changed out to be different colors, or even dual colored! 

Each stamp pack comes with one outside edge stamp and 9 designed stamps for the center. 
Below I have positioned the star outside edge stamp on the stamping positioner. 


Then I placed in the stamp center. 

This is the bottom where the stamp will attach to the stamper.

Position the stamper over the stamping positioner.


Push the stamper down.

 Now the stamp is attached to the stamper.
This is the finished product! :) Isn't she cute!!!!! I love this stamper so far, I love that it's easy to store and interchangeable! Can't wait to use it for a project!!! 

Don't forget to Create like Crazy!!!

Vinyl engagement party favors!

    My very good friend just got engaged a few weeks ago.  We were so excited for her that my sister put together an intimate engagement party!  I was in charge of party favors!  :) woohoo!  So, here's what I put together. I bought a 12 pack of canning jars, pink and gray ribbon, white vinyl and pink vinyl.  On my Cricut I cut out different wedding items and the word "love".  Each jar got one image on the front and the word "love" on the back. (Sorry about the chair wheels in the background!!!)

I packaged the decorated canning jars with printed cellophane. 

The theme was penguins!

Finished product below!

We love you Kirk & Michelle!  Wishing you all the best!  

Monday, June 6, 2011

Glass Etching with the Cricut & Vinyl

I found this project online. It caught my attention and I was really skeptical about how easy it would be.  I tried it once and it worked beautifully!  Here's how it works! :)

What you need:
1. Glass project piece (I used a small canning jar)
2. Glass Etching Cream
3. Vinyl (size depends on the project, usually sold as 12" x 24" pieces
4. Transfer Tape (size depends on project, also sold as 12"x 24" pieces
5. Cricut machine
6. Cricut Mat
7. Cricut Sweetheart cartridge (or whichever cartridge has the design you want)
8. Cricut tools (to get the small pieces out of detailed images
9. Paint brush
10. Water to rinse project off


First measure your project working space.  I chose a jar whose side width measured 2 1/2" by 3" tall. 

Adhere your vinyl onto your mat. I cut my vinyl with a 1/4" border.  We will not use the cut out for the project, but instead, we are using the background cut out. You will see what I mean as we continue. 

I cut my image at 2 1/2 inches tall. This image is from the Sweetheart Cricut cartridge. My cutting pressure was on low on my Cricut Expression machine, this way it doesn't cut all the way through and I can remove the vinyl and it will be ready to stick on my glass. If you cut all the way through, it's okay too.  You just have to remove the backing from the vinyl to adhere it to the glass project. 
Below you see my cut out.


Once you have cut your vinyl, remove the image leaving only the outline. It is blue where I have removed the vinyl. 


Cut your transfer tape the same size as your vinyl square or slightly larger. The transfer tape I used looks a lot like masking tape! It's very thin and sticky! The backing has grids on it for cutting guide lines. Once you have cut your transfer paper, remove the backing. The backing again has the grid lines on it.  Place the transfer tape on top of your image and smooth out with the stick they provide (if you didn't get a stick, just use your hands, press hard.)  Once you have applied your transfer tape, lift the transfer tape with the attached vinyl off the mat, leaving the blue backing on the mat (you will throw the blue backing away. Also, with colored vinyl the backing may be white).


Adhere the vinyl to the glass project.  Smooth out the transfer tape as well as you can. Anywhere the vinyl isn't attached, the etching cream will get to. It is permanent so make sure you are very careful!


Apply the glass etching cream.  The brand I bought is called "Armour Etch" and can be found at Michaels or Joanns. A small bottle (3 oz.) was about 12.99 but you can use your 40% off coupon!  :) 

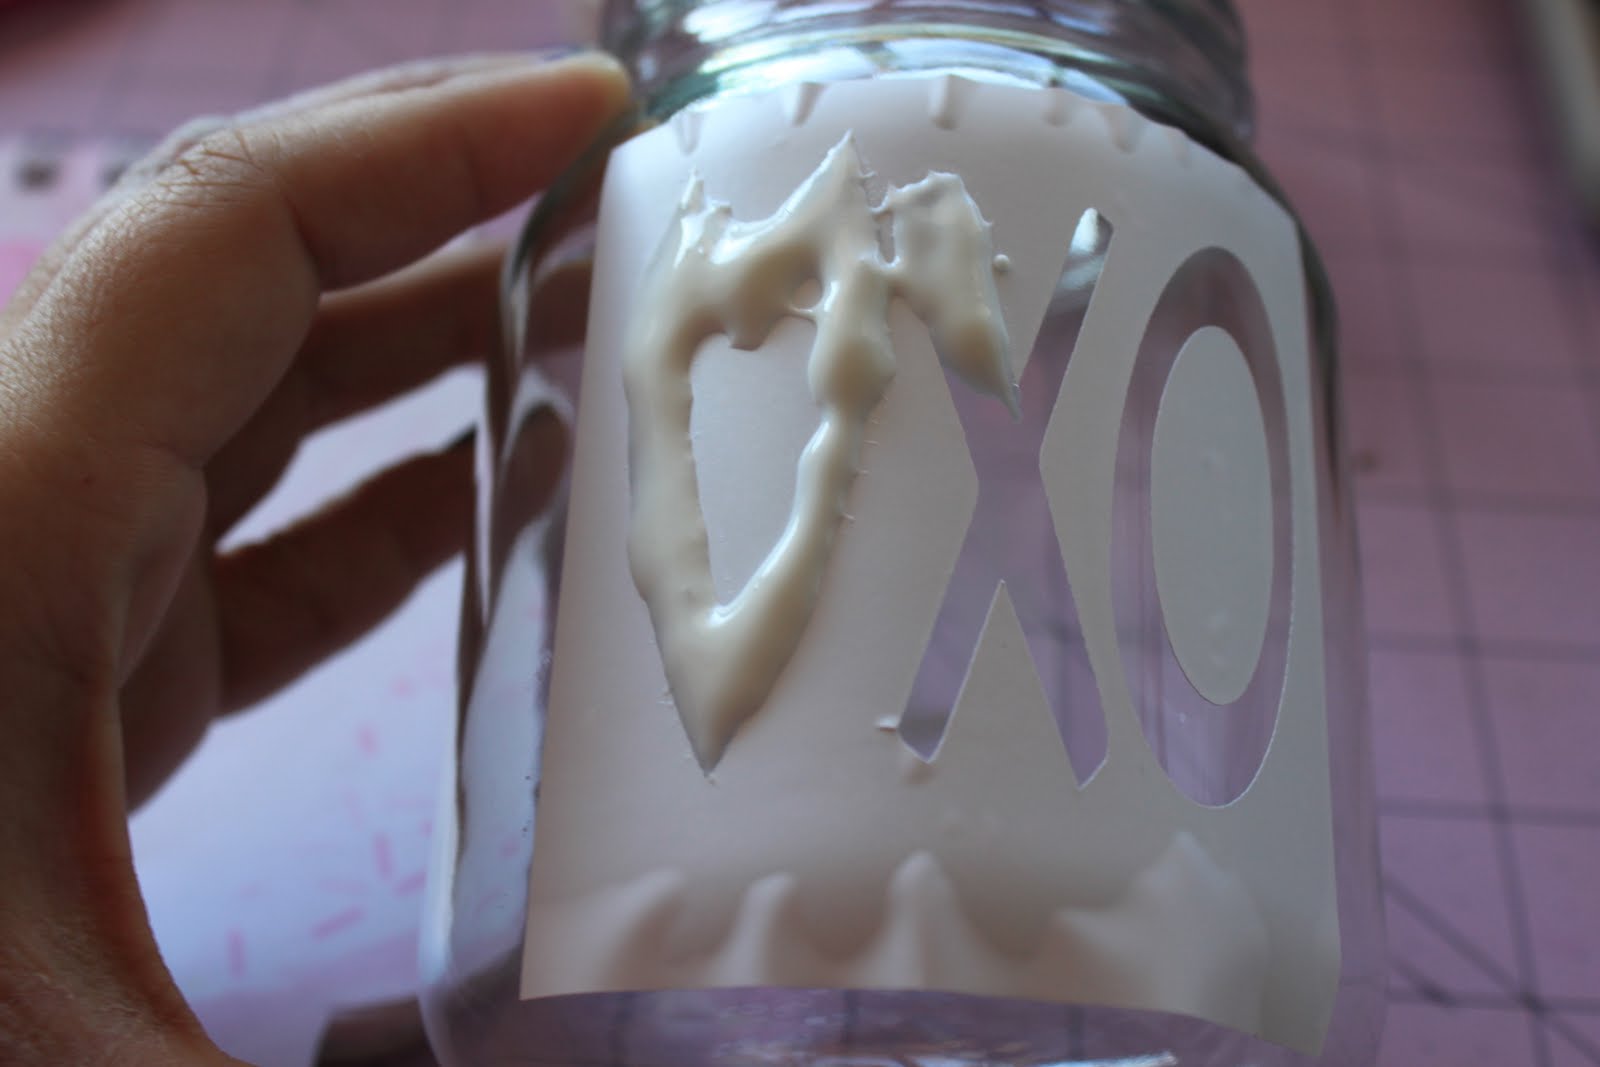
Be very generous with the etching cream.  The better you cover your image, the better it comes out.  As you can see I painted it on very thick so that I would get the best results.  Be careful to only put the cream where you want the glass to be etched.


The packaging says to leave the etching cream on the project for 5 minutes.  I left it on a little longer just to make sure it worked right. 

Once 5 minutes is up, rinse off your project under running water. use the brush to get all of the etching cream off and out of the groves.  Dry with a towel.

Remove the vinyl from your project to see the final results!


I put a piece of black paper behind the image so you could see it better, horrible picture i know, but you get the idea! 


Thanks for joining me in this glass etching adventure!  Don't forget to Create like Crazy!!!


BOOOO!!!

BOOO!!! Not like Halloween boo, more like...BOOOOO!!! SCAL is not available for the Cricut any longer!!! Just when I was about to buy it! Oh well!  So much for that, I still love my Cricut. It does make me want to explore other machines that are compatible with the computer though!  Having two machines isn't to much is it? hehe

Sunday, April 10, 2011

SVG files!

It's day 2 of the trial version of Sure Cuts A Lot (SCAL).  I'm loving it! Today I downloaded a free zip file. It contained a few Japanese blossom images, branches, flowers, etc.  I downloaded the images to my SVG folder on my desktop and was off to create like crazy!  

Once the images are downloaded, I opened SCAL and clicked on the SVG button.  I routed my way to my folder and there they were!  I clicked on the image I wanted on my mat and opened it.  You can resize, flip, move, and layer the images on your mat. I was just doing basics so I placed a few images on my mat. I hooked up my Cricut and pushed the cut button. The images cut just like they showed on my computer!

I can't wait to buy the actual program so these lines aren't cutting through my flower!  hehe :)